- FAQ

Domains
SSL certificates
Payments
Emails
FTP
Databases
Backups
Websites
Joomla installation
Joomla may be installed in two ways:
- - Using the Quick Installation in the Software section in the control panel;
- - "Manually" - downloaded from the official Joomla! website and uploaded to FTP;
Create a database
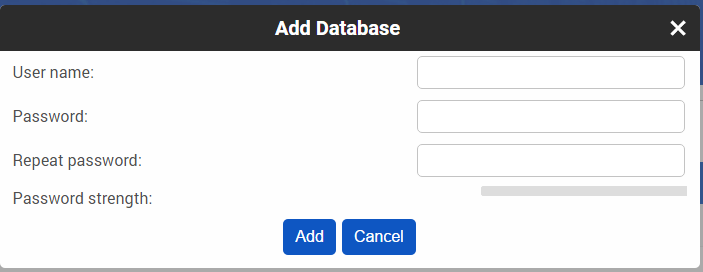
- After registering the hosting account the FTP account is created automatically, but database is not, so need to create it. This must be done before starting the installation of Joomla, since during the installation you will be asked to enter a database name, your username and password. To create a database, go to the Databases section, click Add, enter the user name and password. The name of the database will be generated automatically.
Start installation
- To start a quick installation, go to the Software section in the control panel and click Add in front of Joomla.

- In the popup window type the path to the folder where you want to install Joomla. Do not write anything, if you want to install it in the root of your domains directory. Click Add.
- Click "Go to the installation folder" at the top of the page.

Fill in all the fields on the first tab and click "Next". - In the next tab, enter information about your database (you can find it in Databases section in the control panel) and click Next.
- In the next tab you can configure the parameters and click Install.
- Once the installation process is completed, delete the installation folder (there is a special button). At this stage you can configure additional language options for your site.
After this you can now go to the control panel and start working with your site.
- To start a quick installation, go to the Software section in the control panel and click Add in front of Joomla.

Note: After installing the CMS it is recommended not to change the password to the database, as it will cause problems with the connection to the database.
 Hosting protected by Avast software